Fresh herbs are packed with flavor, color, and nutritional goodness. But if you’ve ever had your own herb garden you’ll know that they can get pretty hectic at times. In the right conditions, mint, parsley, and basil can grow like weeds, and you’ll soon find yourself inundated. You can only give away so much, so why not learn how to preserve herbs at home? That way, you’ve got a backup stash for when your plants decide to take a rest. This is your super-handy, step-by-step guide to preserving fresh herbs like some kind of herbalism graduate.
How to preserve fresh herbs in 3 steps
1. Harvest the crops
To begin, you’ll need to gather the aromatic plants you want to preserve. The best time of day to harvest is early morning before the sun has cooked the essential oils off the plants. Usually, a sturdy set of scissors will do a great job of snipping off the smaller stems. Pruning sheers may be required for larger, woodier plants.
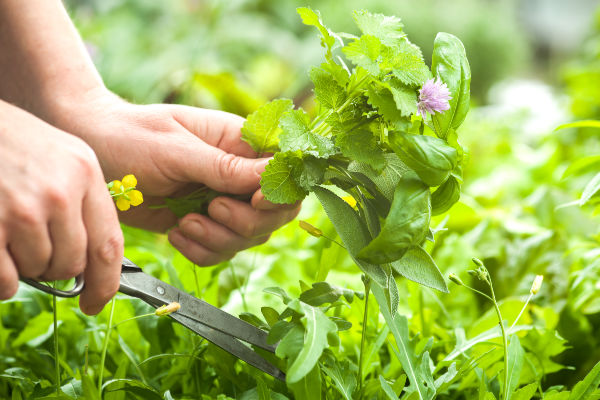
Perennial herbs such as mint, thyme, and rosemary can continue to produce for many more seasons; for these varieties, cut the stem at the base of the plant. For those herbs that won’t last the winter, pull them out at the roots and compost the woody unwanted parts.
Quick tip:
you can take a few stems from your annual herbs and place them in a glass of water. Once roots start to form, transfer them to small pots, and grow them inside if they don’t tolerate the cold weather.
2. Clean the herbs
Cleaning the herbs is quick and easy, but essential for removing any unwanted dirt or bugs. You can run them under cold tap water or place them in a sink of water. A colander is also useful if your herbs aren’t too large. Take care not to damage the leaves.
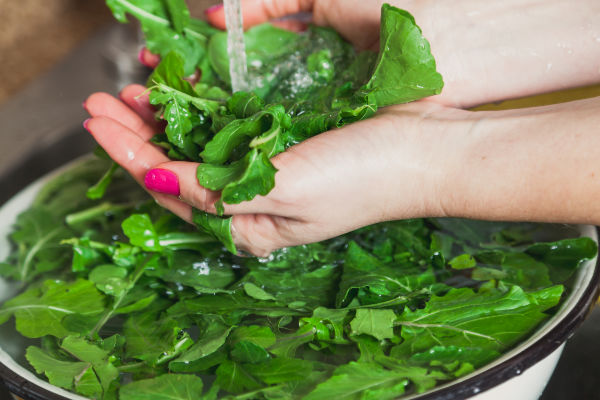
Shake the herbs to remove the bulk of the water, then use a paper towel to gently pat dry. For some preservation methods, particularly air drying, it is important to remove all the water to discourage mildew growth.
3. Preserve and store
Choose a preservation method that best suits the type of plants you have and also what works the best for your home. The options we recommend are freezing, hanging, infusions, and oven-drying.
Freezing
Freezing herbs is a quick method that works well every time. A useful method of freezing is to pick off the leaves and place them into an ice cube container. Fill it to about two thirds full with greenery, then cover each with water. Cover with plastic wrap and then freeze until solid.
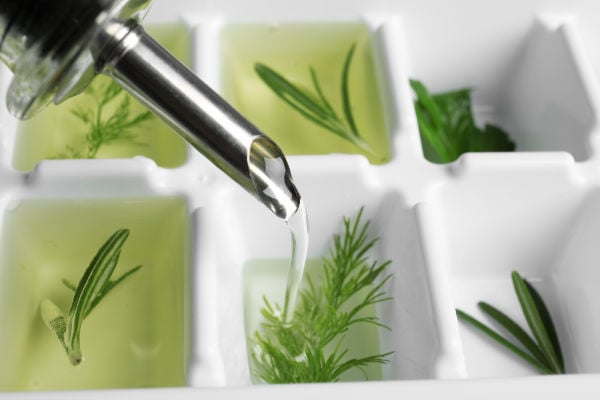
Once hardened, you can pop out the frozen cubes and store them in zip-lock bags in the freezer for up to one year. Remember to label the bags so that you know what the herb variety is and when it was picked.
Did you know? Although softer herbs don't cope well with freezing, they can still be frozen and used to add flavor to drinks.
If you have a lot of herbs in the garden, you’ll need more than one ice cube tray! But the beauty of this method is that cooking with the cubes is easy because they are portion controlled.
Water isn’t the only liquid you can use to make the cubes. Oil is an excellent choice because it helps to reduce unwanted freezer burn or discoloration. For many dishes like soups or casseroles, oil is a common ingredient in recipes. Simply drop a cube or two into the pan and that’s two ingredients taken care of in one flick of the wrist. Use more robust varieties like thyme or rosemary with oil because they are often cooked in food from the start. Soft herbs like dill or mint are too delicate for this option.
Got no spare ice cube trays? Another option is to place the herbs into an airtight container or bag and freeze for up to 3 months. To get a few extra months of freezer life, briefly blanch the herbs and allow them to cool before freezing.
Related articles:
What are the top cayenne pepper replacements.
Our recommended cardamom alternatives.
Check out our ultimate guide to aromatics.
Read our cooking with herbs guide.
Hanging
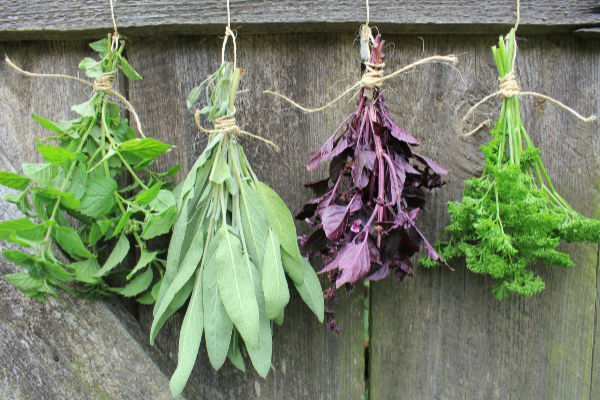
Hanging any foliage will take longer than freezing, but it requires minimal effort and they have amazing visual impact.
Take the stems and use your fingers to pick off any leaves close to the base. Group them into bunches of 5-10 to allow ample ventilation and even drying. Tie each bunch together with string, toward the end of the stem, and then find a suitable place to hang them. The best location is dry and dark, with some ventilation to assist drying. Avoid rooms that have high humidity. A temperature of around 68°F (20°C) should be your target.
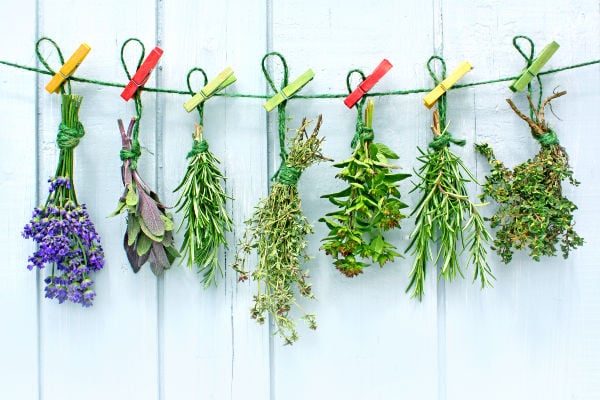
It will take up to three weeks for thicker stemmed plants, while more delicate herbs will be ready in under one week. You’ll know they’re ready when the texture of the leaves is crumbly, like partly burnt paper.
To store dried herbs, pick off the leaves, or leave them on the stems if they aren’t too big. Place them in an airtight jar or container and store in a cool, dark place. Label the containers to avoid any confusion a few months later. You may be able to get 12 months' life from dried herbs, but if any signs of mold appear, quickly discard the stem to avoid it spreading.
Infusions
Steeping, or infusing, is an excellent option for long-term storing, especially if you don’t have much room in the freezer. It is fine to use whole stems or break off the leaves. Add your desired herbs to glass jars then pour in olive oil or any oil of preference. Finally, store in a cool dry place for up to six months.
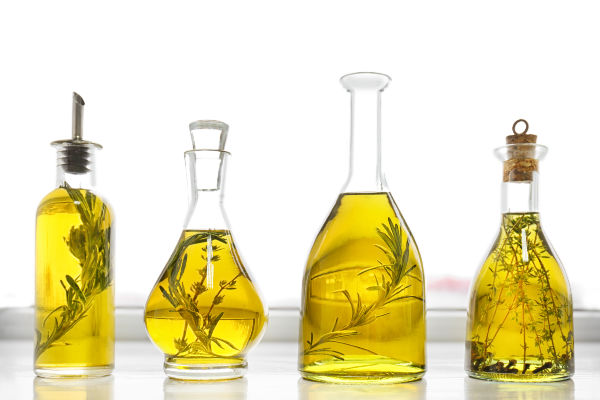
Vinegar can also be used for steeping and they look great on any kitchen countertop. They also make a unique gift for those people that have everything. Choose a lighter variety of vinegar to avoid overpowering the herbal flavor. White wine vinegar is a good option. With this option, you’ll steep for 3-4 weeks before straining the liquid into another container, and discarding the solids.
Food safety tip: Sterilise jars before using by washing in hot soapy water and then boiling for 10 minutes in a water bath canner or deep pot.
Oven drying
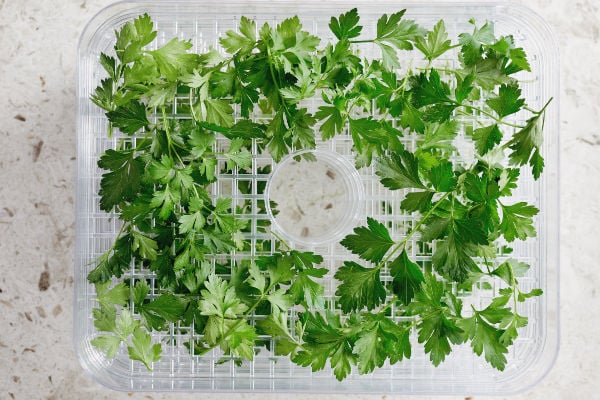
If you live in a humid climate then hanging herbs isn’t recommended. Instead, dry them in the oven – it’s quicker and you don’t run the risk of mildew. Spread the herbs in one layer on an oven tray lined with a sheet of parchment paper. Then heat in the oven at 150°F until the herbs are dry and crumbly. It is best to keep the door open slightly the entire time. This drying process will generally take 1-3 hours. Oven-dried herbs will last up to 12 months if stored properly.
A dehydrator is a useful appliance to speed up herb preserving; it will also dehydrate food using less power than an oven.
Which preservation method is best for each herb type?
| Freezing | Drying | Infusions |
|---|---|---|
| Mint | Mint | Fennel |
| Chives | Dill | Oregano |
| Cilantro | Chives | Rosemary |
| Basil | Cilantro | Dill |
| Oregano | Basil | Basil |
| Rosemary | Oregano | Mint |
| Thyme | Rosemary | Tarragon |
| Tarragon | Thyme | Parsley |
| Sage | Tarragon | Savory |
| Sage | Sage | |
| Lovage | Lovage | |
| Fennel |
Related reading:
8 excellent tarragon substitutes.
4 spice hacks to replace saffron.
How to replace dill in your next recipe.
Our favorite oregano substitutes.
Summing up
At some point, herb gardens grow out of control, producing more than you could ever consume. Learning how to preserve herbs will help reduce food waste and will allow you to keep using your own herbs, even when nothing much is growing in the garden.
If you have plenty of freezer space, freezing herbs is a great option as it’s quick and convenient. But you can only fit small amounts into ice cube trays so you’ll probably need to bag some and freeze it that way. For those that have large quantities to preserve, you’re best to hang them or oven dry them because you can do larger quantities easily.
If you love using herbs in cooking, be sure to check out our article on 6 chervil alternatives or our very best list of sage replacements.
What is your favorite method for preserving your favorite herbs? Please let us know in the comments below.

Leave a Reply