If you haven’t tried making ice cream at home until now, then brace yourself. Using fresh ingredients without the unwanted additives makes a tastier, healthier frozen dessert. Are you ready to learn how to make ice cream? This is the ultimate resource to take your skills from zero to hero.
Since starting Creamish in 2016, I’ve made every conceivable flavor of ice cream and tried every method of making frozen desserts. That experience has been packed into this one page; a simple guide to help the complete beginner get started fast.
Table of Contents
How do I make no churn ice cream?
The first decision you need to make is how you’re going to make homemade ice cream. We’re going to look at four methods that don’t require any fancy equipment. You can get step-by-step recipes for making ice cream without a machine on this page.
1. Mason jar shake
The idea doesn’t get much simpler than this one. Add your ingredients to a jar and close the lid, before shaking it until you get delicious frozen dessert. You can eat it immediately as soft serve, of pop it in the freezer for an hour or two to harden.
The shaking part is hard work, but the end reward is well worth it.
Equipment requirement: One mason jar of any size
2. Whip ‘n freeze
Combine whipped cream and sweetened condensed milk, along with your chosen flavors and freeze until hard. This creates a similar style of ice cream as the mason jar method because they both involve freezing cream.
Equipment requirement: An electric beater or whisk, large bowl, and a freezer-proof container.
3. Ice and salt
This method requires filling a large bowl with ice and salt, then nestling the smaller bowl inside. Add the ice cream base and mix until it turns into soft serve texture. Scoop into a container and freeze until hard.
When working out how much the ice cream is costing you to make, remember to factor in the ice and salt cost.
Equipment requirement: Two bowls (one small and one large), crushed ice and rock or kosher salt.
4. Freeze and mix
This method attempts to mimic what an ice cream maker does. You’ll mix up the ingredients before adding them to a shallow, airtight container. After around 30 minutes of freezing, remove the mix and beat it until smooth.
Return the ice cream to the freezer and continue to remove every 20 minutes until it is too hard to mix. This technique breaks the ice crystals into smaller particles, resulting in smoother ice cream.
Equipment requirement: An electric beater or whisk, large bowl, and a freezer-proof container.
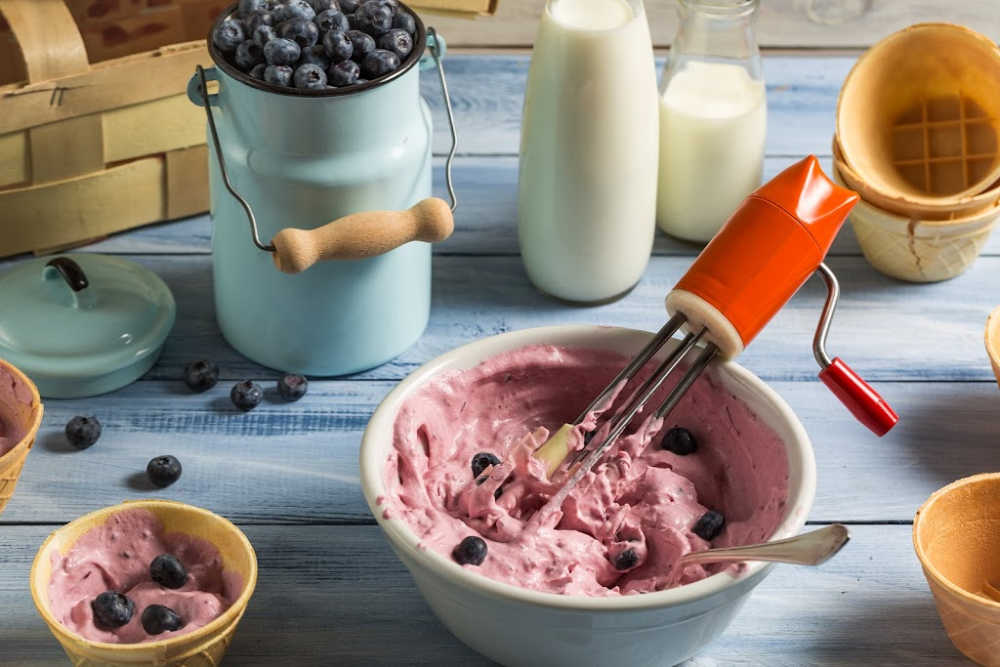
Beating the ice cream during freezing creates a creamier ice cream.
There are many ways to make ice cream manually, but the four we listed are the most popular options. They are all low-cost, fun to make choices that won’t require filling up your kitchen bench space with another appliance.
No-churn desserts won’t be as creamy and smooth as using a proper appliance. If you’re mostly making the frozen treats for kids, they probably wouldn’t even notice the difference.
Should you buy an ice cream maker?
You don’t need any high-tech appliances to get started, but they will definitely help improve your frozen desserts. We created a flowchart to help you decide whether to splash out on an ice cream maker or use a manual method. Take a moment to decide what is the best option for your needs.
Many amateur ice cream producers will tell you they started without any gadgets, but eventually progressed to buying an appliance. If an ice cream maker will be invaluable in your kitchen, be sure to check out our in-depth review of the best ice cream makers currently available.
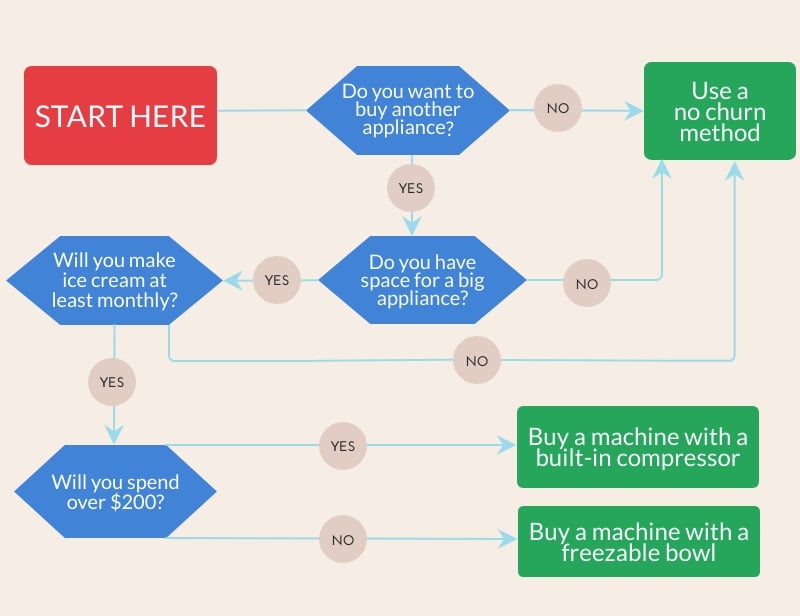
Use this flowchart to work out whether you need an ice cream maker.
What’s the difference between a freezable bowl and compressor ice cream maker?
As you research the popular ice cream makers, you’ll discover there are two common types of machine: freezer bowl models and built-in compressor models. Let’s take a quick look at how they differ so that you know what’s best for your kitchen.
1. Freezable bowl models
These units use a bowl which you freeze overnight. The next day, connect it to a motorized device with a paddle that churns the ice cream.
The desserts these appliances can make are delicious if you get the recipe right and work quickly.
You’ll need space in your freezer to fit a fairly large bowl and some good organization skills to remember to freeze the bowl in advance.
Popular entry-level models that are affordable are the 2-quart Cuisinart ICE-30 and the 1.5-quart ICE-21 models. The beauty of freezer bowl machines is that they’re simple, without lots of moving parts. This means less mechanical defects and faults.
2. Built-in compressor models
More expensive models have built-in compressors. This means the freezer is housed inside the appliance and doesn’t require any freezing of bowls. The ice cream you get will usually be as good, if not better than the cheaper freezer bowl units.
A huge benefit of these premium models is that you can churn out pints whenever you have a yearning for something sweet. Feel like making a few different flavored ice creams in one session? Nothing is stopping you as they’ll keep churning all day.
Points to remember about domestic ice cream makers
- they’re easy to use, with limited buttons and settings.
- they make incredibly smooth ice cream.
- prices can range significantly depending on the brand.
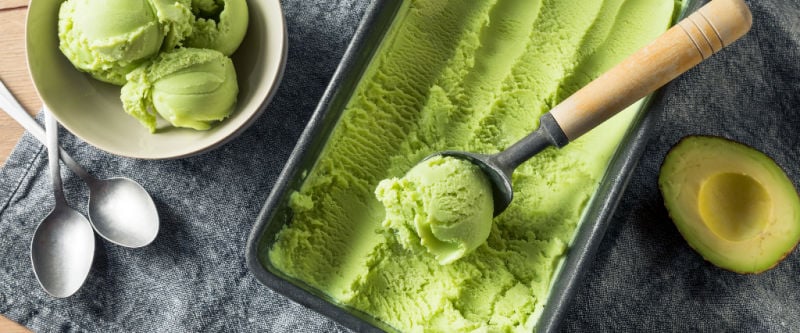 6 steps to make homemade ice cream
1. Preparing the recipe
It all begins with choosing a recipe that has the right ratios of ingredients. Too much cream will lead to a texture with an unpleasant buttery mouthfeel. Not enough sugar and the structure won’t be as light and airy as it should be. Too much milk and fruit will make icy, hard ice cream.
You’ll eventually get to a point where you can create your own flavors. To begin with, use a suitable recipe from a trusted source.
Extra reading: Understanding the science behind how ice cream is made will increase your knowledge. It will help you understand why a recipe has failed as well as provide a solid foundation for developing your own recipes. Learn all about the science of ice cream here.
2. Pasteurizing the dairy
Pasteurization is an important step in some countries when eggs are used. By heating a mixture of milk, cream, sugar and eggs, at a temperature just below boiling, it’ll kill off unwanted bacteria.
Even if your recipe doesn’t use eggs, it often pays to heat the ingredients. This will allow the sugar to easily dissolve and other flavors like spices to be cooked into the mix.
Basic vanilla ice cream recipe
Ingredients
- 4 egg yolks
- ¾ cup granulated sugar
- 2 cups heavy cream (whipping cream)
- 1 cup whole milk
- 1 tsp vanilla extract
- 1 pinch sea salt
Method
- Whisk the egg yolks and sugar in a large bowl until well combined and pale in color. Set aside.
- In a heavy-bottomed saucepan, heat the cream and milk on med-high heat until simmering, then remove from heat.
- Scoop out half a cup of milk and slowly pour it into the egg yolks, all the while whisking as fast as possible. This tempers the yolks and helps to stop them cooking.
- Pour the yolks slowly back into the saucepan of milk, while whisking. Return the pan onto a medium heat and allow it to simmer until the consistency of the custard base thickens and coats the back of a spoon.
- Remove from the heat and stir in the vanilla and salt. Cover the bowl with plastic wrap and refrigerate for at least two hours.
This recipe provides an excellent vanilla ice cream. It also makes a tasty “blank canvas” for making different flavors. Try adding other ingredients into the mixture:
- Add a bunch of chopped mint to create fresh mint ice cream.
- Scoop in a cup of peanut butter.
- Toss in half a cup of cocoa powder to make chocolate.
- Melt confectionery like Reese’s Milk Cups and swirl in at the end of churning.
- Replace vanilla essence with one vanilla bean for a deeper vanilla flavor.
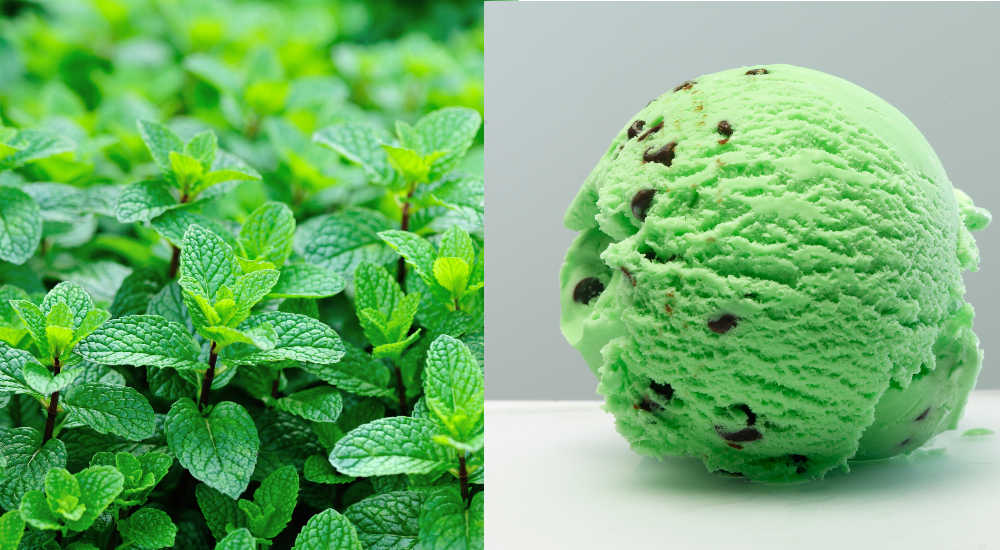
Fresh mint infuses delicious flavor into ice cream.
3. Aging the custard base
After making an ice cream mix, chill it in the fridge for at least 2-3 hours. Chilling overnight is preferable because it ensures the liquid is cooled throughout and allows time for the flavors to infuse.
To age the liquid, pour it into an airtight container and add it to the fridge. You can add a layer of cling wrap to the surface of the liquid, before adding the lid. This will stop a skin forming.
4. Freezing the custard base
It’s time to pull your ice cream maker out of the box and plug it in. Remove the chilled custard base from the fridge and pour it through a strainer to remove any unwanted solids. Start the ice cream machine and pour in the mixture. Churn the ice cream following the instructions provided by the appliance’s manufacturer.
5. Adding extra ingredients
Just before the ice cream is hard, you have the option to toss in additional ingredients. The ice cream maker’s mixing paddle (blade) will distribute the add-ins perfectly.
Chocolate chips, nuts, cookie chunks, brownie bits, candy, and sprinkles are all tasty options. Small-sized bits tend to work better with ice cream. If the add-ins are too big, they can impact the ice cream’s texture.
Always chill the extras for 30 minutes before tossing them in. Room temperature add-ins will warm the ice cream, resulting in a less-smooth consistency.
6. Hardening the final ice cream
At the end of churning the texture will be similar to soft serve. You can eat it like this or freeze it for 2-3 hours to achieve the right hardness.
Scoop the ice cream out of the bowl into a suitable freezer container. The best shape for encouraging quick freezing is a shallow wide dish. If it doesn’t have a lid, you can cover it tightly with plastic cling wrap.
Place the container at the back of the freezer as this position has the least temperature fluctuation, which encourages ice crystal formation.
Once hardened, it is time to eat. Scoop the ice cream into a bowl or onto a cone. You may want to make homemade waffle cones which will impress your friends and family.
How to improve homemade ice cream
As you develop your ice cream making skills it’s natural to look for new ideas to improve your desserts. To start with, check out our ice cream making tips that will provide some quick wins. We’ve also compiled a resources page where you can find some of the best information from trusted experts in the industry.
Further reading you may enjoy:
Discover the difference between gelato and ice cream.
We reveal the calories in popular ice cream brands.
Get started with these popular ice cream recipes
How To Make Mint Chocolate Chip Ice Cream
Learn how to churn fresh mint chocolate chip ice cream that uses fresh mint for maximum flavor. This is a simple recipe that can be made with or without an ice cream maker.
How To Make Strawberry Ice Cream
Combine your fresh strawberries with a custard base to make a lovely strawberry ice cream. This ice cream recipe is suitable for those with an ice cream maker, or without one.
How To Make Chocolate Ice Cream [+6 Tips]
The best chocolate ice cream provides a perfect balance of cool, creamy richness that’s full of choc flavor. This recipe is just that. Its combination of chocolate varieties provides a delicious mix of bitter and sweet taste that makes eating an entire pint seem quite conceivable. The texture is incredibly scoopable and won’t turn into granite once it’s been in the freezer for over a day.
When did ice cream begin?
Ice cream has a long history, making it difficult to clearly say who invented it. Around 200 B.C., the first basic variations of ice cream began to be made. Alexander the Great loved a recipe that took ice from mountaintops and added local in-season flavors like honey or nectar. This would have been a much icier version of ice cream, a lot more like sorbet or snow cones in texture.
Claudius Caesar was known for sending runners into the mountains to find fresh snow which was perfect for combining with fruit.
It wasn’t until 1744 that the first records show modern-day ice cream. A letter was written by William Bladen which included ingredients and a method much closer to how we make ice cream today. But those recipes weren’t popular as it was a challenge to freeze the desserts. That was, until the 1800s when rudimentary freezers were invented. From that point on, ice cream became a mainstream food enjoyed by everyone, not just the aristocracy of the time.
Fun fact: Did you know President George Washington splashed out $200 for ice cream during the summer of 1790? That amount of money would have bought a lot of ice cream back then!
Wrapping up
Making ice cream at home is fun for any age and isn’t difficult to learn. To get started, you may want to try your hand at a few no-churn methods. There is no up-front cost other than the ingredients. If you enjoy the result, imagine what can be created with an ice cream maker? Smooth, creamy ice cream is the flick of a switch away.
Remember to check out our in-depth review of the best ice cream makers currently available. We have extensive experience using these machines and are happy to share it with you.


Leave a Reply