Everyone deserves to eat homemade ice cream once in a while, even if they don’t have a fancy machine in their kitchen. We know four different ways to make ice cream without an ice cream maker.
Before starting, we need to be honest with you. The ice cream texture you get from using a proper appliance is better than you’ll ever get from the tactics on this page. Nothing whips up creamy, smooth ice cream like the electric paddle of an ice cream maker. In saying that, there are a few very good reasons to make it by hand:
- it saves you money upfront on an appliance.
- it’s a lot of fun, for kids and adults.
- not having an ice cream maker frees up space.
- it is super-satisfying doing it the old school way.
4 ways to make ice cream without a machine
Here are four of the easiest, most popular options which require little or no equipment. Let’s get down to the business of creating frozen treats. Happy shaking, mixing, and freezing!
1. The mason jar shake
Jars are common in many households, so get your wrist warmed up because it is time to shake! Kids enjoy this task but caution them about dropping it, because the jar could smash.
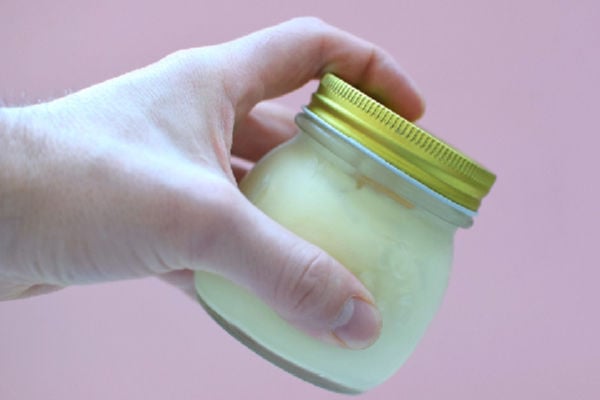
Making ice cream with a mason jar is hard work.
Equipment needed: A small mason jar.
Difficulty: Very easy.
Preparation time: 5 minutes
Ingredients
- 1 cup heavy cream
- 1 Tbsp sugar
- 1 tsp vanilla
Method
- Add the cream, sugar, and vanilla to a mason jar and screw on the lid tightly. Shake the jar vigorously for 3-5 minutes, allowing the ice cream to form. You’ll know it’s ready when the liquid stops sloshing. This is a sign that the cream has hardened.
- Add the jar to the freezer for one hour, or until hardened.
Note: You can use any size mason jar, even a smaller 8oz jar is suitable. If you halve the cream, then you’ll also want to halve the other ingredients.
What to consider: The mason jar technique is an easy method that’s great for kids. It is offers a portable dessert you can take anywhere, so long as it is chilled.
However, the liquid is all cream so you can only eat it in smallish quantities. The fat coats the tongue after eating too much. You may also find the texture dense and difficult to scoop after freezing, so allow time to thaw sufficiently.
2. Whip ‘n freeze
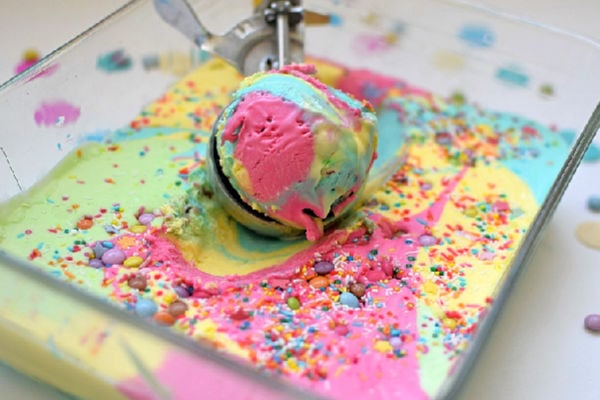
Who would have thought that combining whipped cream and condensed milk, then freezing it would create delicious ice cream. This option is ideal for getting creative with color and mix-ins.
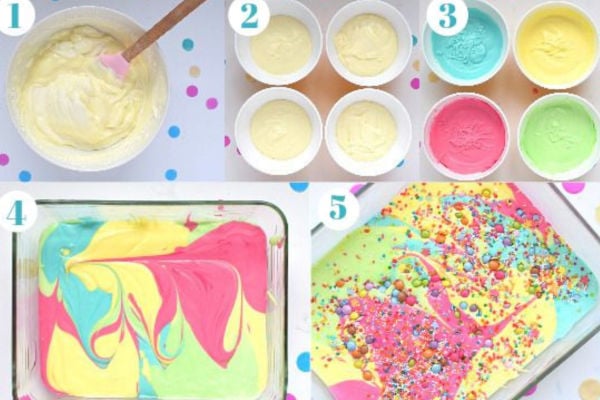
Kids will love getting creative with color and sprinkles.
Equipment needed: Electric beater or whisk.
Difficulty: Easy.
Preparation time: 15 minutes
Ingredients
- 1 can condensed milk (14oz)
- 1 tsp vanilla
- 2 cups heavy cream
- Food coloring (optional)
Method
- Add the condensed milk and vanilla to a medium bowl and mix until combined. Set aside.
- In a separate large bowl, use a hand mixer or whisk to beat the cream until stiff peaks form. Next, fold the whipped cream into the condensed milk.
- Scoop into a freezer-proof airtight container and freeze for one hour or until hard.
Optional extra step for more color: After combining the cream and condensed milk, scoop four equal portions into separate bowls. Add a few drops of different food coloring to each bowl then mix. Finally, scoop out the individual colors into one bowl and use a fork to make creative colors.
What to consider: Using the whip 'n freeze method will provide an airier texture than using a mason jar; it is also a little easier to scoop out, compared to the small mouth of a mason jar. Although scoopable, the texture still lacks smoothness.
3. Freeze and mix
This technique is closer to real ice cream making, as it uses a more traditional combination of milk and cream. Although more steps are involved, it is worth the effort for the creamy ice cream that results.
The freeze and mix technique provides a creamier ice cream.
Equipment needed: Electric beater or whisk.
Difficulty: Intermediate.
Preparation time: 5 minutes
Ingredients
- 2 cups heavy cream
- 1 cup whole milk
- ½ cup sugar
- 1 tsp vanilla
- 2 Tbsp skim milk powder
Method
- Whisk all ingredients in a large bowl until well combined, and the sugar is dissolved.
- Pour the mixture into a shallow container and cover with a lid or cling wrap. Freeze for 30-45 minutes until the ice cream begins to harden, then remove from the freezer and, working quickly, use a beater or whisk to mix until a smooth texture results. Return to the freezer.
- Repeat the steps above, every 20 minutes until the texture is too hard to mix. Then allow the ice cream to freeze fully
What to consider: Mixing the ice cream during freezing reduces the ice crystal size, resulting in the creamiest method available without a machine. The use of cream and milk also provides the best tasting ice cream. However, the waiting time and repetitive steps can be laborious during the ice cream freezing stage.
4. The ice and salt method
Make ice cream like they did in the good old days. Although it's a little time consuming, it is a fun project for the kids on a quiet, sunny weekend.
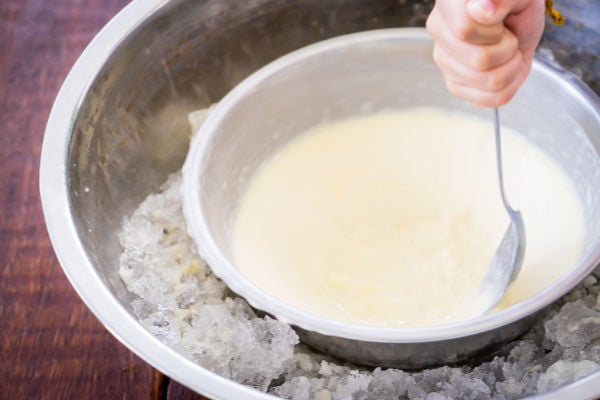
The way ice cream was made before ice cream makers came along.
Equipment needed: 1 small bowl, 1 large bowl, a bag of crushed of ice, 1 cup kosher salt.
Difficulty: Easy.
Preparation time: 5 minutes
Ingredients
- 2 cups half and half
- 3 Tbsp granulated sugar
- 1 tsp vanilla extract
Method
- Fill the large bowl with ice and salt.
- Add half and half, sugar and vanilla to the small bowl and place inside the large bowl. Allow the ice to surround the smaller bowl.
- Mix the ice cream constantly for around 10 minutes until it hardens.
- Scoop the soft serve-like ice cream into an airtight container and freeze for an extra hour to fully harden.
What to consider: A simple recipe that requires no special equipment. But it is time consuming having to mix for so long and the ice and salt adds cost to the recipe.
Suggested reading:
Check out our guide to homemade ice cream for an in-depth article on how to make ice cream.
Getting creative with flavors
Each of the recipes mentioned above is for vanilla ice cream – a delicious flavor but no everyone’s favorite. You may want to try one of the following options. The quantities are suitable for one quart of ice cream. So if you’re using a little mason jar or ziplock bag, then add less.
Mint chocolate chip: 1 tsp peppermint essence, ½ cup choc chips
Chocolate: 1 Tbsp cocoa
Rocky road: ½ cup mini marshmallows, ¼ cup nuts of your choice, ¼ cup choc chips
Peanut butter or Nutella: ½ cup of spread.
Cookie monster: Few drops of blue food coloring, 1 cup broken Oreo cookies.
Recommended reading:
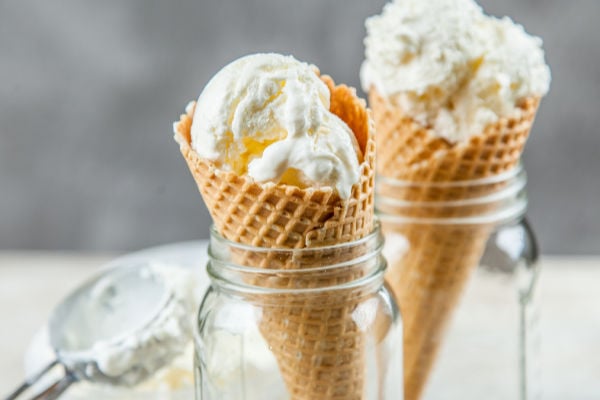
Now that you know how to create the ice cream, it's time to learn how to make homemade ice cream cones.
Summing up
Forget the store-bought pints for a day. Making creamy ice cream at home doesn’t need to be a high-tech operation, with fancy new equipment. You’ll find that whipping up frozen desserts, made from fresh ingredients is really worthwhile. Although you won’t achieve perfect scoopable ice cream using the methods on this page, you’ll still make ice cream with amazing taste which people will enjoy.
Do you know a different way to manually make ice cream, without using appliances? We’d love to hear from you in the comments below. We’ll try the technique out and include it here if it produces great tasting food.
The Happy Whisk (Ivy)
Fun to see other ways to make ice cream. Thanks and Happy Earth Day!
Nate
Thanks for stopping by! Have a Happy Earth Day too.