A vital step in the cheese-making process is aging the wheels. This ripening can take months, so the cheese will need to be protected from unwanted moisture, mold, and bacteria. Cheese waxing is a simple but effective technique used to preserve semi-hard and hard cheeses from the elements. This guide will run through the complete process of waxing cheese.
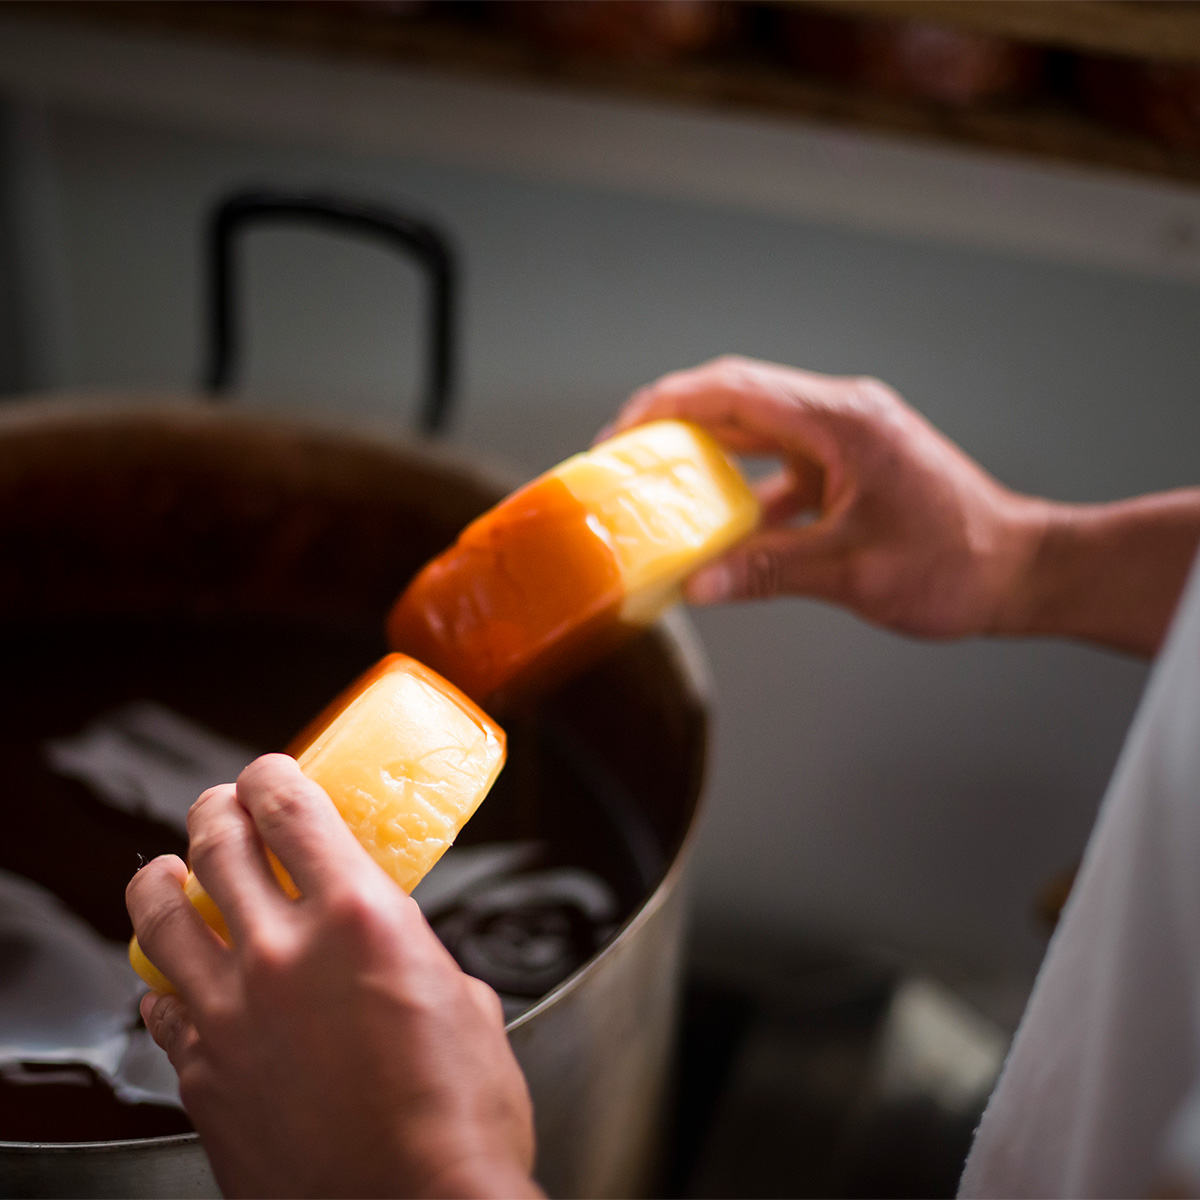
Table of Contents
How to Wax a Cheese Wheel
Waxing cheese is a lot like cheese making. It is easy to learn the basic steps, but doing it consistently can be a challenge. After waxing your first cheese, there is a temptation to get overconfident and rush the steps on future attempts. Instead, take your time with the waxing process, making sure to coat the cheese around three times. This should result in a perfectly sealed cheese, free from mold.
What You’ll Need
Wax and brush
Cheese wax comes in block format and can be purchased online. It is a food-grade product and should not be substituted for regular wax. You can check out the ratings and price for our favorite cheese wax on Amazon here. You'll also need a natural-bristle brush.
Wax paper
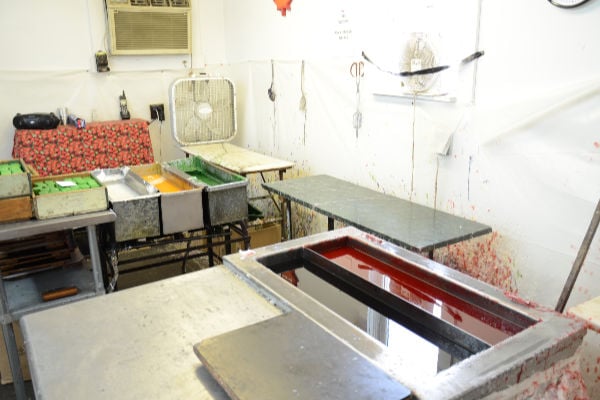
Before getting started, we highly recommend covering the kitchen bench, or any other working space you’re using. Wax paper works well, as does aluminum foil.
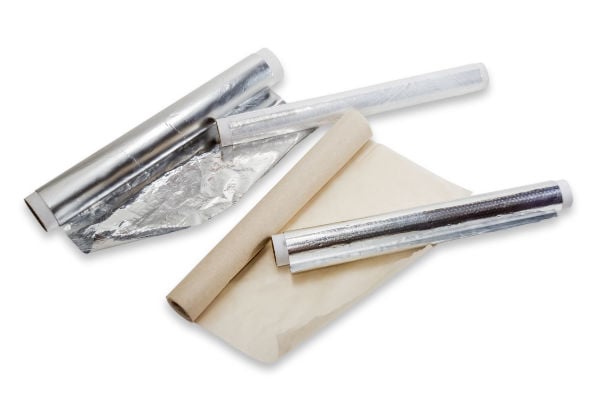
They’ll keep your surfaces clear of wax spills, something that is inevitable during this messy process. Prevention of wax spillage is much easier than cleaning up wax, which can be a frustrating task.
Wax paper is also useful, as the cheese wheel won't stick to it when the wax is drying.
Disposable utensils
Washing utensils can be a challenge, so use disposable knives and spoons instead. Just make sure they’re biodegradable. Paper towels are also essential for wiping up the mess before it hardens.
Protective clothing
An apron and gloves are useful to avoid getting wax on your skin or clothing. We strongly recommend using these if you're using the high-heat method below.
Preparation
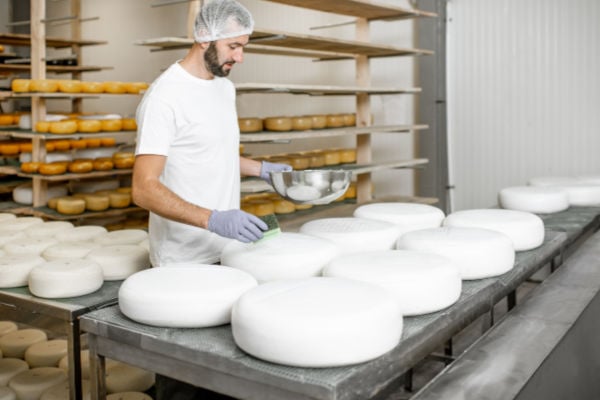
Having formed the cheese and pressed it, you’ll then store it in a cool, airy location to dry off for 2–3 days. The round should be covered in cheesecloth to keep off unwanted dust, flies, and other undesirables.
A small amount of mold is likely to have developed and must be removed before applying the wax. To do this, wash the cheese in this mixture: one cup of cool water and a teaspoon of salt. This brine is highly acidic and will easily wash off the mold. Leave the cheese to dry for an hour before continuing.
High-heat cheese waxing
Using high-heat wax is a great option. The extreme temperature will kill any remaining mold spores that may have survived the brine bath. It is also a less messy option, as there is no need to use a brush to apply the wax.
Safety message:
The risk of burns increases with scorching wax, so extreme care should be taken. Keep in mind that wax can reach a much higher temperature than water and is capable of causing severe burns. If you have any concerns about your ability to accurately measure temperatures and work meticulously, then it may be better to choose the low-heat method.
More wax is required when using high heat, as you’ll be dipping the cheese rather than brushing.
- Place the cheese in the freezer for 15 minutes before getting started. This step helps the wax harden much quicker and reduces the wax sticking to your fingers.
- Heat the wax in a suitable pot until it reaches 224–236 °F. Once the desired temperature is achieved, you can turn off the stovetop. Accurate temperature measurement is vital at this stage. If it gets too hotter, a flash fire could result, causing serious injury or worse.
- Pick up the cheese wheel securely, checking to make sure it won’t slip. Carefully dip the top of the cheese into the wax and then remove it, allowing the coating to cool.
- Dip the bottom of the cheese into the wax, then remove it and allow it to cool.
- Now, it’s time to coat the edges. Gently turn the cheese through the wax until half the outside edge has been covered. Allow it to dry, then coat the other half.
- Repeat steps 3-5 a second time and, preferably, a third time. Use a wax brush or a knife to remove air bubbles and smooth out any lumps.
- Allow the wax in the container to cool and harden before storing it until it is needed again. Never pour oil down the drain, as it can cause blockages.
Note: It takes quite some time for the wax to turn into a liquid. But, once it reaches this stage, the temperature will rise quickly, so keep a watchful eye on the wax.
Cleaning Up Cheese Wax
Cleaning off the wax from pots and utensils isn’t as simple as washing off common food leftovers. If possible, use unwanted pots and disposable cutlery so that washing isn’t required. If you have to clean them, use boiling water to melt the wax and wipe it off with old cloths or paper towels. Once the wax has been removed, use turpentine to remove any remaining wax.
Low-heat cheese waxing
For a safer waxing option, low heat is your best bet. You’ll also use less wax, which, over time, will result in savings. However, because the wax isn’t highly heated, some bacteria may survive underneath it. This issue probably won’t be a problem if you’ve dried the cheese in a clean environment.
Get everything set up before you start applying the wax, as you’ll need to work quickly.
- Add wax blocks to a suitable sized pot and then place them in another larger pot that is filled with water (double boiler). Heat the pot on the stovetop until the wax melts.
- Use a natural-bristle brush to apply liberal quantities of wax to the outside of the cheese. Start by applying it to the top and sides. As you get close to the bottom of the cheese, stop and allow the wax to harden.
- Flip the cheese gently and continue coating the remaining cheese.
- Repeat steps 2 and 3 a second and third time to ensure a good coating all over.
- Allow the wax in the container to cool and harden before storing it until it is needed again.
Related Post:
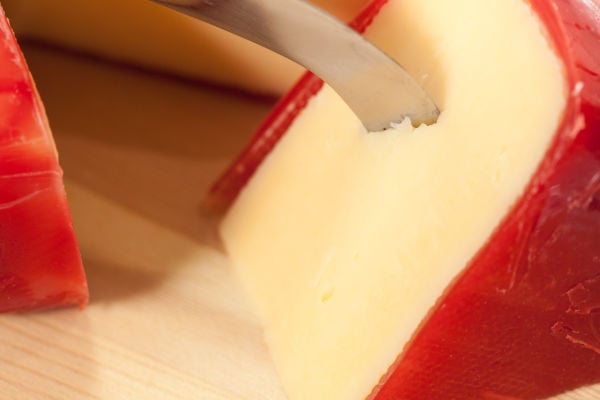
Do you slice your fair share of cheese? If you're like us and you like nice, evenly cut slices, then you should consider buying a cheese slicer. They are quick and easy to use, and the end result is cheese that looks like the pre-sliced product you buy in-store. We went in search of the best cheese slicers currently on the market. Check it out! If you're a cheese lover like us, then it will get used a lot.
Frequently Asked Questions
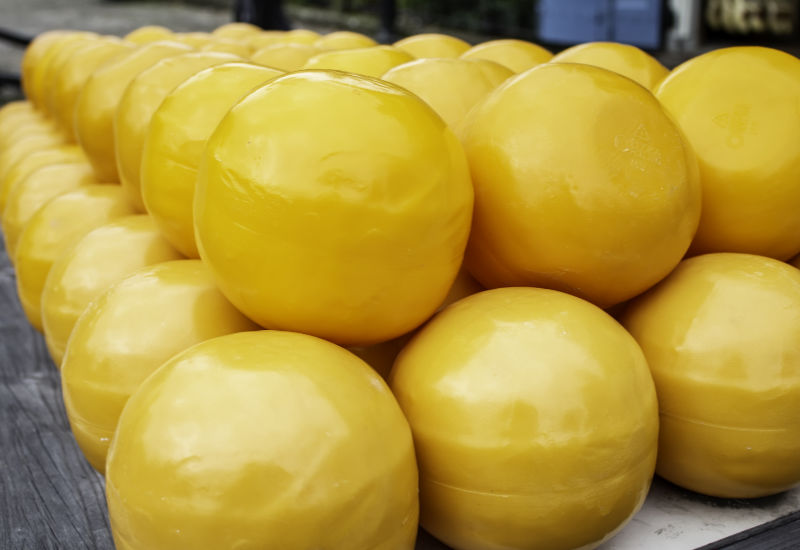
The cheese wax’s color makes no difference to the final taste, texture, or color of the cheese. Popular choices include red, black, or green wax.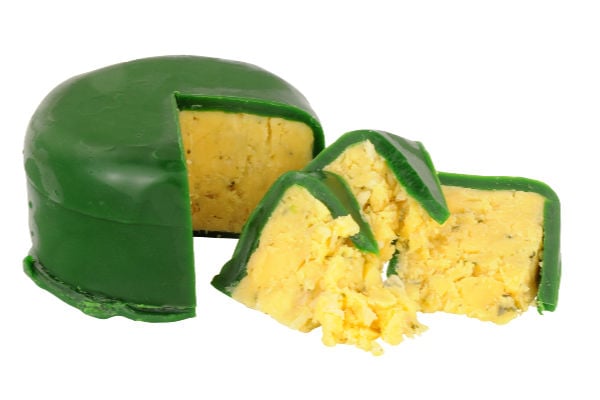
Green wax looks nice but makes no difference to the final cheese's flavor.
Always use a wax that is specially designed for coating cheese. It is made to put up with the stress of being turned each week without cracking. Beeswax isn’t ideal as it usually breaks during the aging process, and paraffin is too soft to protect cheese wheels for weeks or months effectively.
Waxing is one method of protecting the cheese from harmful bacteria. A second option is to wrap the cheese in a cloth; however, this won’t kill any unwanted nasties leftover from the cheese drying process.
If the cheese wheel has been correctly coated in wax, then most of the hard work is done. All that is required during the aging process is to turn it each week. Temperature and humidity control must also be monitored and kept within suitable ranges.
The main reason this occurs is that the wax wasn’t heated sufficiently during the application, and some bacteria managed to survive. Another possibility is that there is a small hole in the wax, allowing air and moisture to access the cheese.
If you spot mold, then remove all the wax, scrape the mold off, and then clean with a cloth soaked in a brine solution of water and salt. Let the cheese dry for an hour before reapplying the wax.
Cheese wax is suitable for reuse. It can be melted down and poured through a strainer to remove unwanted solids. Next time it gets used, the wax should be heated to over 224°F to kill off any bacteria.
Cheese can be stored for up to 25 years if correctly waxed. Turning the cheese each week and controlling the moisture and temperature will also be necessary to ensure the cheese is okay when it’s time to eat. If signs of mold start to appear, the wax should be removed and the cheese cleaned before re-waxing.
Watch the video
Would you prefer to watch? Check out this video, which outlines the waxing process in more detail.
Final Words
Making cheese is a lot of fun and very rewarding. Aged cheddar, gouda, or any other semi-hard or hard cheese benefits from a maturing phase. The aging process is a vital step in adding flavor and texture to the cheese. Although there are a variety of methods available, waxing is a good option for protecting the cheese during aging.
If you decide that hot wax is the best idea, please take extreme care and read the wax manufacturer’s instructions very carefully before starting. Water burns are bad, but wax burns take potential injuries to a whole new level. Remember safety first.
If you need cheese wax, then you’ll find it at any cheese-making supply store. You can also check out the ratings and price for our favorite cheese wax on Amazon here.
What is your favorite way to protect cheese during aging? Let us know in the comments below.
Leave a Reply