Cheddar is a firm, creamy type of cheese that’s popular around the world for its taste and texture. You can pick up a wedge of cheddar from any supermarket, but making homemade cheddar is much more fun. Imagine the approving nods from family and friends as you reveal your first artisanal wheel of cheese. You don’t need lots of expensive equipment, so let’s get started!
Table of Contents
Cheddar Cheese Recipe
Yield: 3 pounds (1.4 kg) | Skill level: Beginner-Intermediate | Aging time: 3 months+
Required equipment
- Colander: Used from draining the whey from the curd.
- Thermometer: A quality brand will help with accurate results.
- Ladle or spoon: Useful for draining whey when washing curds.
- Long knife: A sharp knife is necessary for cutting the cheese curds evenly.
- Butter muslin: Required to drain the whey and hold the curds together.
- Cheese mold: Molds the cheese into the desired shape.
- Cheese press: Applies pressure to curds to exude the liquid whey.
- Brush: Use to brush wax on cheese before aging.
- Cheese wax: Used for coating the cheese during aging.
Ingredients
- 3 gallons full-fat milk
- 2 ½ ml calcium chloride
- 1 packet Mesophilic culture
- 3 ml liquid rennet (single strength)
- Salt (2%) of curd’s weight
Method
The night before starting, add milk and calcium chloride to a large pot and allow it to sit overnight in the fridge. This step rebalances the milk by restoring the calcium levels.
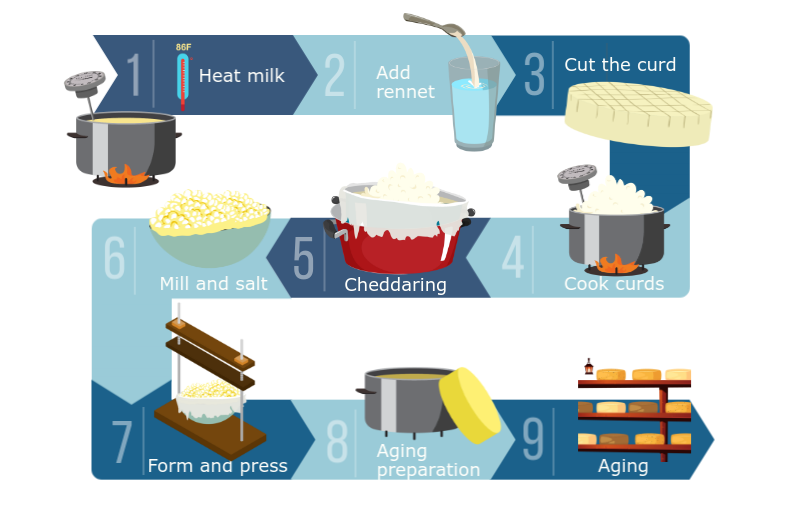
Step 1: Heat the milk
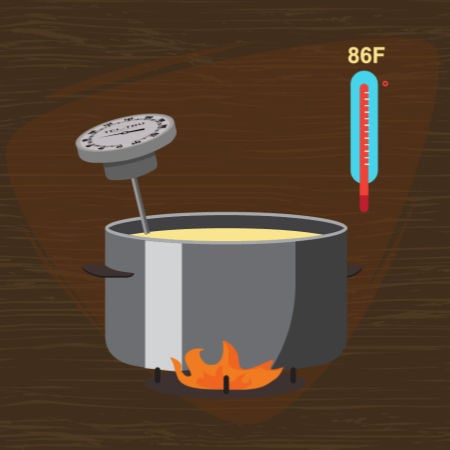
Heat milk in a large, heavy-bottom pot to 86°F (30°C). For accuracy, attach a thermometer to the side of the pot.
Heating the pan directly over the hob will provide too much heat. Instead, use a double boiler or add the pot of milk to a larger pot partly filled with water. This water bath will provide a more stable temperature for heating the milk. Stir the liquid with a large spoon frequently as it warms.
Once the milk reaches the target temperature, gently sprinkle the culture powder over its surface. Wait for two minutes, then stir until well combined.
Continue heating the pot for 90 minutes to allow the bacteria to eat the lactose. This process converts lactose to lactic acid, so keep the temperature constant during this step.
Alternative heating setup: Instead of using two pots, another option is to place the pot filled with milk in the kitchen sink. Adding one or two jugs of boiling water will allow you to achieve a reasonably constant, non-harsh heat. More boiling water will need to be added to keep the heat consistent.
Step 2: Add the rennet
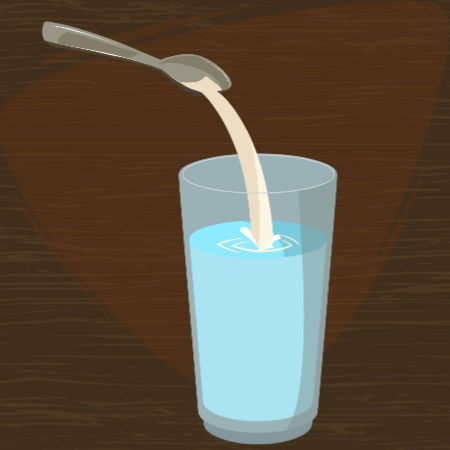
Now that the mixture has ripened, it is time to incorporate the rennet. These enzymes will coagulate the curd, transforming it from liquid to solid.
Accurately measure 3 ml of liquid rennet and add it to the milk. Stir gently for two minutes to ensure the rennet is well distributed. If you have rennet tablets, use a quarter of a vegetable rennet tablet for every ¼ teaspoon of liquid rennet.
Allow the milk to sit untouched for 45 minutes, giving time for the rennet to coagulate the curd. It should start to thicken at the 15-20 minute mark, but ensure it remains still with no additional heating for the full 45 minutes. Agitating the solution during the waiting period will slow the acidification process and may affect the final quality of the cheese.
- Pour the rennet through a perforated spoon to help distribute the liquid evenly through the milk.
- Mix the rennet horizontally and vertically, making sure to get the spoon to the bottom of the pot.
Step 3: Cut the curds
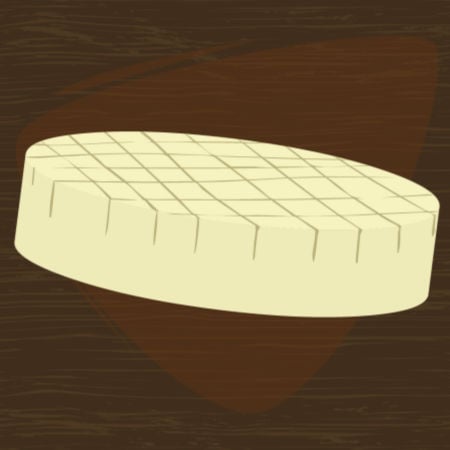
Now that the curd is a solid mass, it needs to be cut into half inch cubes. You can use a specialized curd slicer, but a long, flat-bladed knife or a palette knife will work fine.
Slice the entire curd into strips that are between ½ inch and ¾ inch wide. Rotate the pot 90 degrees and cut the same-size slices at right angles to the first slices. This should create a neat-looking checkerboard effect.
With the knife at a slant, start cutting lines at a 45-degree angle downward, using the existing lines as a guide. Finally, turn the pot 90 degrees and repeat.
The larger the curds, the quicker they will age. Smaller pieces will be drier and take longer to age.
Allow the curd surface to harden slightly by resting them for five minutes without touching. Then continue cooking the curds, allowing them to increase in temperature to 86°F (30°C). Stir the curds slowly for 10–15 minutes. The initial heating will result in firmer curds that can withstand higher-heat cooking during the next step.
Step 4: Cook Curds
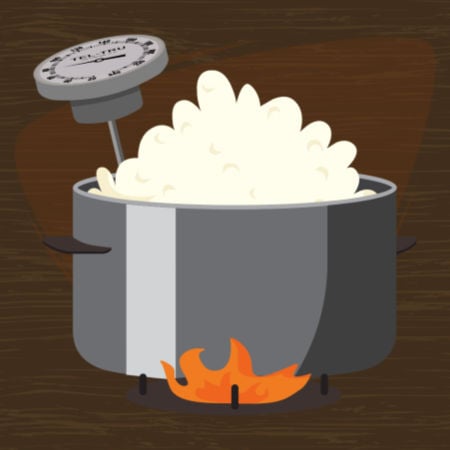
Slowly increase the temperature to 102 °F to reduce the stress placed on the curds. Every five minutes, increase the temperature by no more than 5°F. It should take roughly half an hour to reach the desired temperature.
Keep heating and stirring for 45–60 minutes until the curd firms and dries out. They’re ready when a cube of curd offers some resistance before crumbling between your fingers.
If the curds are still soft or contain moisture, then continue stirring. Once the curds are dried, leave them for five minutes, then ladle out the whey (liquid) until it is only 1 inch above the curds.
Fast fact: Moisture contains lactose, so if it isn’t removed during this step, the final cheese will leak. Also, the cheese will taste acidic with an unpleasant chalky texture.
Step 5: Draining and cheddaring

Place a colander over a large pot and pour in the curds and whey. Allow the curds to drain for 15 minutes, then turn them out onto a board and slice them into five pieces.
Scoop the curds back into the pot, cover, and return to the water bath to begin the cheddaring phase. This is an important step to develop the acid levels and allow the flavor to change from mildly sweet to slightly acidic.
Maintain the curds at a constant temperature of 85–90 °F for two hours, turning the curds every 20 minutes. At the one-hour mark, cut the curd mass into two pieces and stack the two on top of each other. Use a cloth to separate the two, and place a board with a weight of 8 pounds (a little under 4kg) on top.
Cheddaring further draws out the whey and is the reason that cheese can last so long.
Step 6: Milling & Salting

The curd has now achieved an optimal level of acidity and moisture content, so it is ready for pressing. Adding salt is necessary to stop further drying out or the development of acids.
Break the curd into chunks the size of a large marble, then add salt. To calculate the correct amount of salt, multiply the weight of the curds by 2%.
For example, a curd that weighs 6 pounds should have 1.92 ounces of cheese salt added. Keep in mind that roughly 0.5% of the salt will dissipate as it draws moisture from the curds.
It is best to add the salt in 2-3 stages every 20 minutes. This technique reduces the occurrence of “salt hardening” on the curd’s surface.
Step 7: Form and press
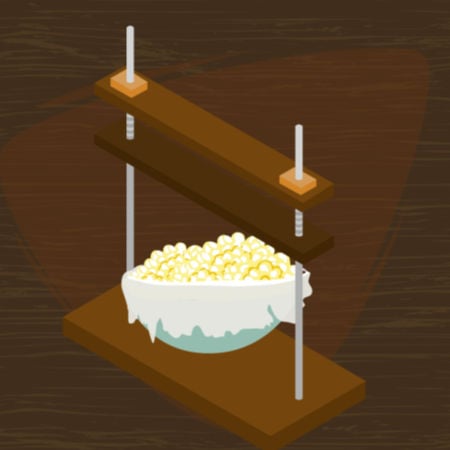
After salting, use a press cloth to line a form, then firmly pack the curd in. Wrap the cloth around the cheese before pressing.
A purpose-built cheese mold is well worth the investment and you can pick one up from specialty stores or online. Choose one that is made for making hard cheese.
Now it is time to press the cheese using weights. The secret is to slowly add more weight in stages. Add the following weights as an approximate guide:
- 1 hour at 20 lbs
- 5 hours at 40 lbs
- 24 hours at 60–70 lbs
After each stage, remove the cheese from the press and take off the cloth. Turn before re-wrapping and putting them back in the press. If you flip the cheese, it will help ensure an even consolidation.
As the hours progress, you should notice the whey slowly weeping from the form. The cheese will gradually be forced lower in the mold, and the surface will appear smoother.
Step 8: Aging preparation
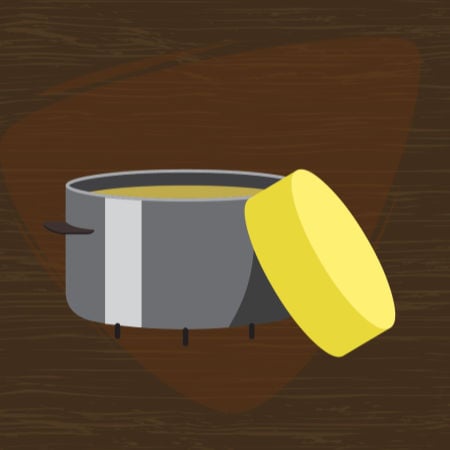
Before aging the cheese, an outer coating is needed for protection. The natural rind that forms won’t help cheddar as it lacks moisture. Instead, cracks will form, and the cheese will spoil.
Cloth wrapping
The traditional method of wrapping cheddar is with a cloth that is soaked in lard, then pressed into the cheese for 24 hours. The result is the fabric gets embedded into the surface of the cheese.
A protective cloth is useful for allowing gas and moisture to be released when required. Once the cheese is ripe, the mold is brushed away, and the fabric can be removed, revealing a clean rind.
Cheese experts generally agree that cloth wrapping provides a better cheese, with a heightened aroma and a more complex flavor.
Waxing
After drying the cheese for a few days, wax is applied, which requires almost no attention during aging. Although wax helps maintain moisture, gas can’t escape easily, and it can be messy to apply. Read our Ultimate Guide to Waxing Cheese to learn more about the pros and cons of this method.
Step 9: Aging

The final step of cheesemaking is aging, which is also the most time-consuming. During aging, the cheese should be turned each week to maintain even moisture throughout.
We recommend storing cheese in a suitable space for 3–9 months. The actual aging time will depend on the level of moisture in the cheese. An overly dry cheese can be aged for longer and is likely to develop a more complex flavor. The aging room must have 80–85% moisture and a consistent room temperature of 52–56 °F.
Don’t be alarmed by the surface mold that accumulates on the surface. This coating helps act as a barrier, protecting the cheese from unwanted bacteria.

Tips to improve your cheddar
The quick and easy way to get started is to get yourself a cheesemaking kit. The Standing Stone Farms Complete Cheese Making Kit includes everything you need to get started!
- If you decide to use fresh raw milk, then we recommend decreasing the culture by 23–40%.
- This recipe requires 3 gallons of milk. It is a volume that’s easier to manage for any beginner to cheesemaking. In future batches, we recommend doubling the recipe to reduce the loss of moisture and to assist with adequate ripening.
- Keep a journal and make note of how the cheese tastes, its texture, color, and any other points of interest. This information is useful if you intend to make future batches and are looking to make improvements.
- Remember that accuracy is the key to amazing cheddar. Take your time and make sure the temperature is correct. A few degrees either way can result in unpleasant cheese.
Related reading:
Substitutes For Fontina Cheese?
Cotija Cheese Substitutes
How Long Does Cream Cheese Last?
Can You Freeze Mozzarella Cheese?
Why Does Cheese Smell Bad?
How To Make Cheese Souffles
Commonly Asked Questions
Once opened, expect cheddar to last six weeks in the refrigerator if wrapped in cheese paper. Unopened, you can store it refrigerated for up to four months or eight months in the freezer.
This flavor is usually due to excess moisture in the curd or the use of too much culture.
Cheddar is best made using full-fat milk, but it can be substituted for low-fat. Using low-fat dairy will result in a less creamy, drier texture as there will be less butterfat.
The recipe on this page uses whole milk (full fat), which can be purchased from any store. If you prefer to use raw milk, then decrease the culture by 23–40%.
Vinegar or citric acid can’t be used in place of rennet when making cheddar. They are suitable for making other cheese types like mozzarella, cream cheese, or cottage cheese.
A cheese press and mold are both handy pieces of equipment to have, but they aren’t essential. An accurate thermometer is vital for precise temperature measurement.
If heating over the stove is proving a challenge, you can also place the pot in a kitchen sink filled with hot water. The water bath provides a less harsh, more constant heat. If the temperature starts to drop, remove some of the water and add more boiling water.
Push a finger into the curd at a 45-degree angle. The curd is suitable for cutting when it easily breaks around your finger.
Farmhouse cheddar is a type of traditional sharp cheddar that doesn’t include the cheddaring stage during production. It has a crumblier texture, similar to vintage cheddar.
Summing Up
Making cheddar cheese at home is a fun hobby suitable for all ages and skill levels. It’s easy to learn but hard to master. If you’re looking to dip your toe in the water, then consider a cheesemaking kit to get started fast.
Once you’ve made homemade cheese, you’re going to want to cut it perfectly. Take a look at our review of cheese slicers to discover which is best for you.
The biggest challenge when making cheese is waiting. Aging cheddar takes months, so you’ll need to develop patience. Soft cheeses like cream cheese, soft goat cheese, and paneer are much quicker and easier to make. The equipment requirements are minimal, which is why it’s often a good place to start before working your way up to hard cheese making. We include a delicious recipe for making paneer here.


Leave a Reply